Part 4 of coopering, with pictures.
Getting closer to done.
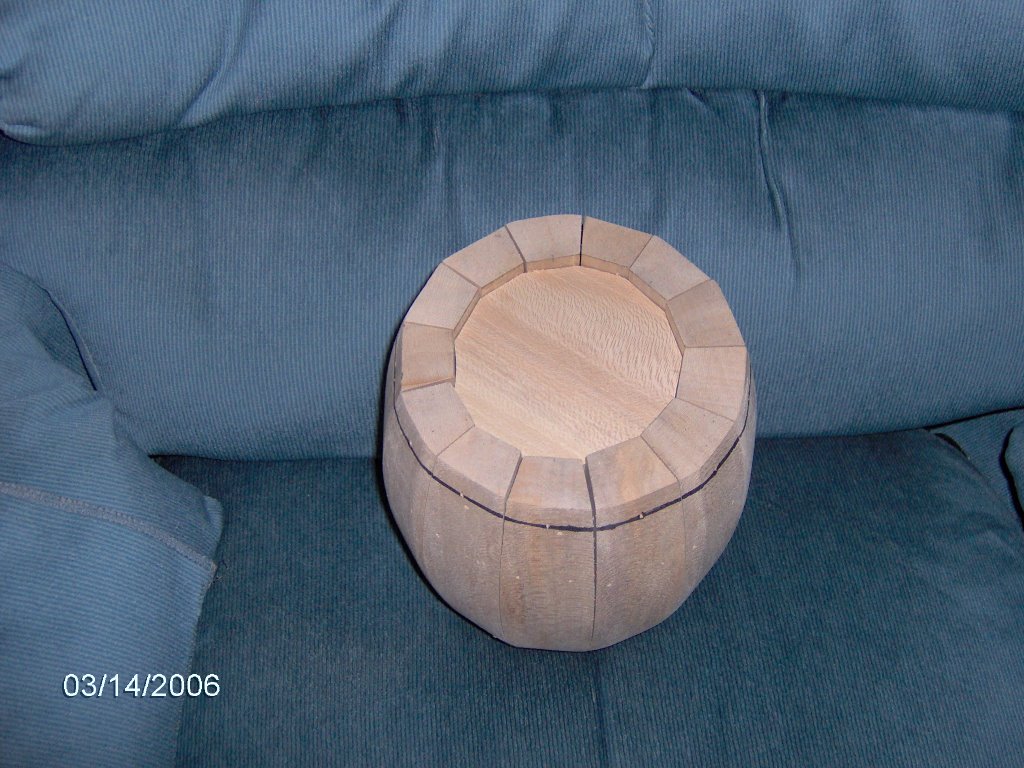
Making the bottom:
I set the barrel down on a piece of wood, reached inside, and traced the inside profile onto the wood. Then I took that to the bandsaw and cut it to the line. the piece fit like a glove. I tapped it in place with a 1/4 inch inset and nailed it in place. The nail holes will be covered later with the simulated hoops.
Making the top:
1. I measured the top of the barel at it's widest point on the outside edge and added 1/4 inch for overhang. Then I set a compass to half that and drew a circle on a piece of wood. I presed hard on the compass point to mark the center. This I drilled and put a screw through the center point so just a little of the point stuck out. Then, on my bandsaw circle table I drilled a matching center point hole. I put the screw tip into the hole, turned on the bandsaw, and turned the piece to cut the perfect circle.

2. Next I mounted that circle to a face plate on my lathe. I measured the smallest diameter inside the top of the barrel and set that up on a caliper. I turned down HALF of the "top disc" until the caliper fit. Then I sanded it with a nice roundover.

Making the knob:
I took a block of wood and turned a nice little knob and fastened that to the top.
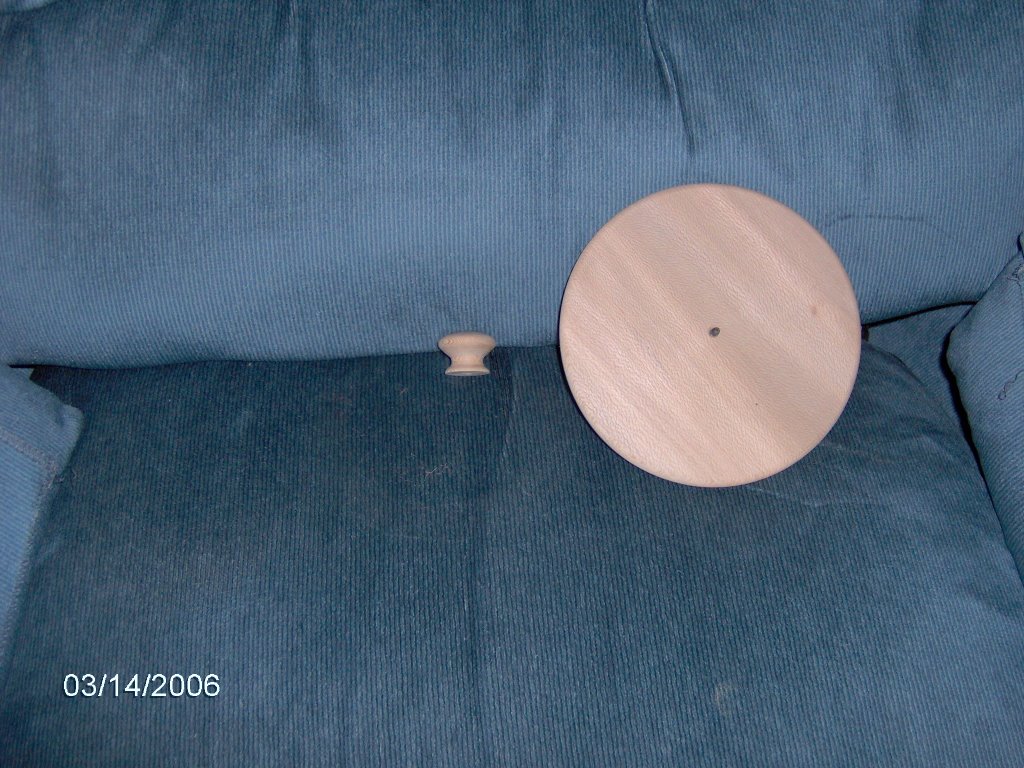
With that, the woodworking construction is done. Now I need to sand, stain, and make the simulated hoops. For sake of a picture I drew circles with a Sharpie Marker to give a vague idea of two of the 4 hoops.
Finally, I had a little time last night to make a burlap bag as a liner. I bought a small piece of burlap and some upholstery thread. I measured and cut a piece off. Then I folded over a flap and stiched that in place. That made the "tunnel" where a "closure string" goes. I folded the "bag" in half lengthwise and stitched the two cut ends. Then I turned it inside out and threaded a new, short nylon shoelace through the tunnel. It turned out better than I could have hoped for and on the first try. I put the bag in the barrel and test-filled it with the coffee beans. There was only a small amount of the one pound remaining in the paper bag after filling up the burlap bag.

Awesome! Almost done!
posted by Tim B. @ 8:09 PM
1 comments
![]()

1 Comments:
Tim, Where did you learn about all of this stuff that you make? I, for one, think that all of this knowledge you are imparting is wasted on me. I believe that you should teach a wood-working class somewhere that there would be students who could put all your tricks of the trade to good use.
Post a Comment
<< Home