It blows !
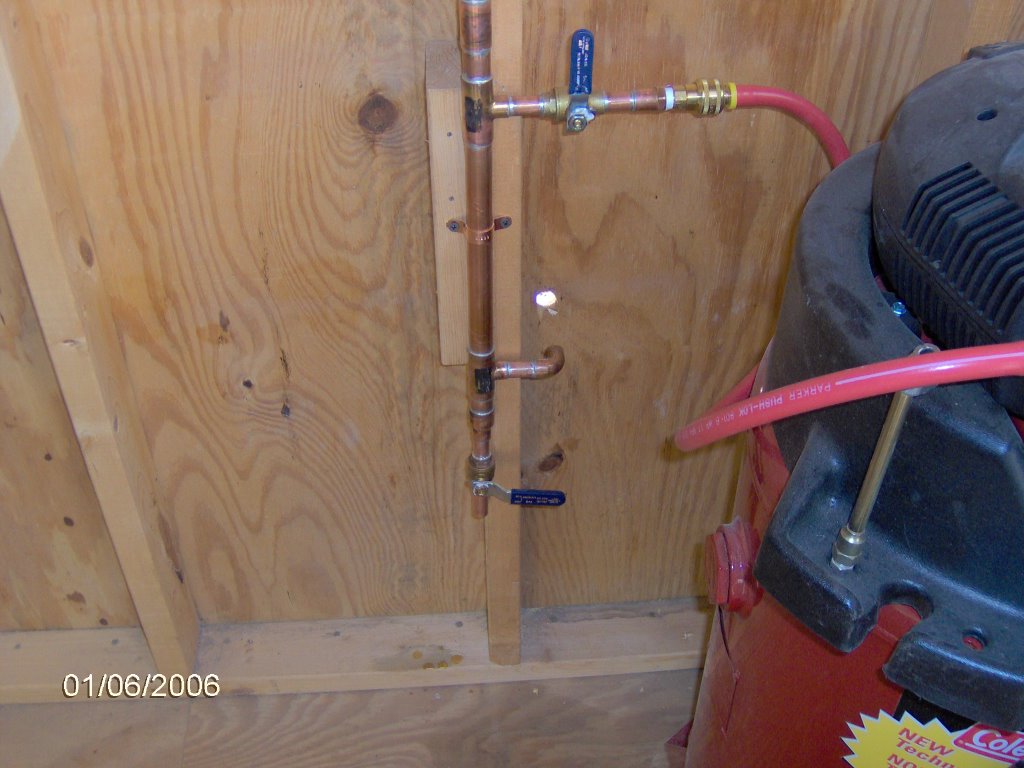
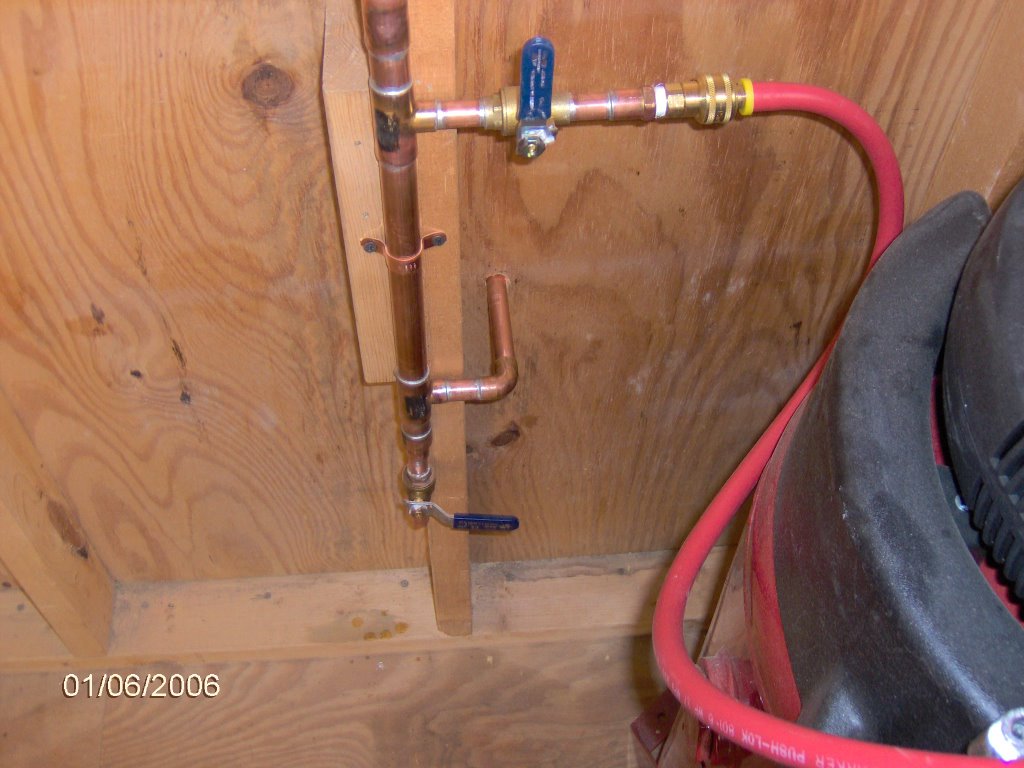
Last night I installed all but one of the quick connectors. This morning I finished sweating the main line elbow to the vertical parts. Then I strapped everything snug to the studs. At lunchtime I went home and installed thge stub to the outside and put on the last quick connector.
Hooked up the compressor AND.... a small leak. Turns out that it was just at the packing nut below the main shut off valve handle...NOT at any of my soldered joints. It was fixed by removing the handle and tightening the nut just a little. For good measure I did the same for the other valve.
Tested again and it is absolutely leak free. Amazing. Over 40 joints and all of them worked first time. My coppering skills have improved.
Since everything is pulled away from the walls I also installed 2 more wall receptacles for future (electrical) use.
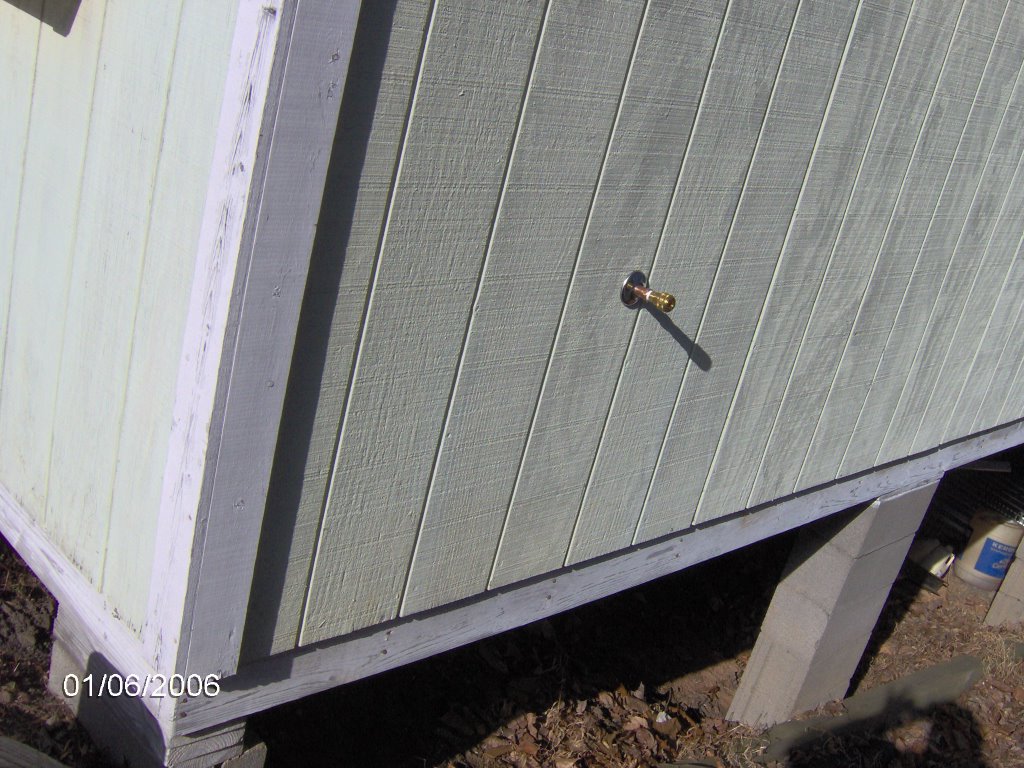
This picture shows the hole drilled in the shop wall for the stub to be installed.
Test fit of the stub, measured, then cut it to finished length.
Outside view after it was installed and the quick connect put on.
So, now let me show you the electrical outlets.
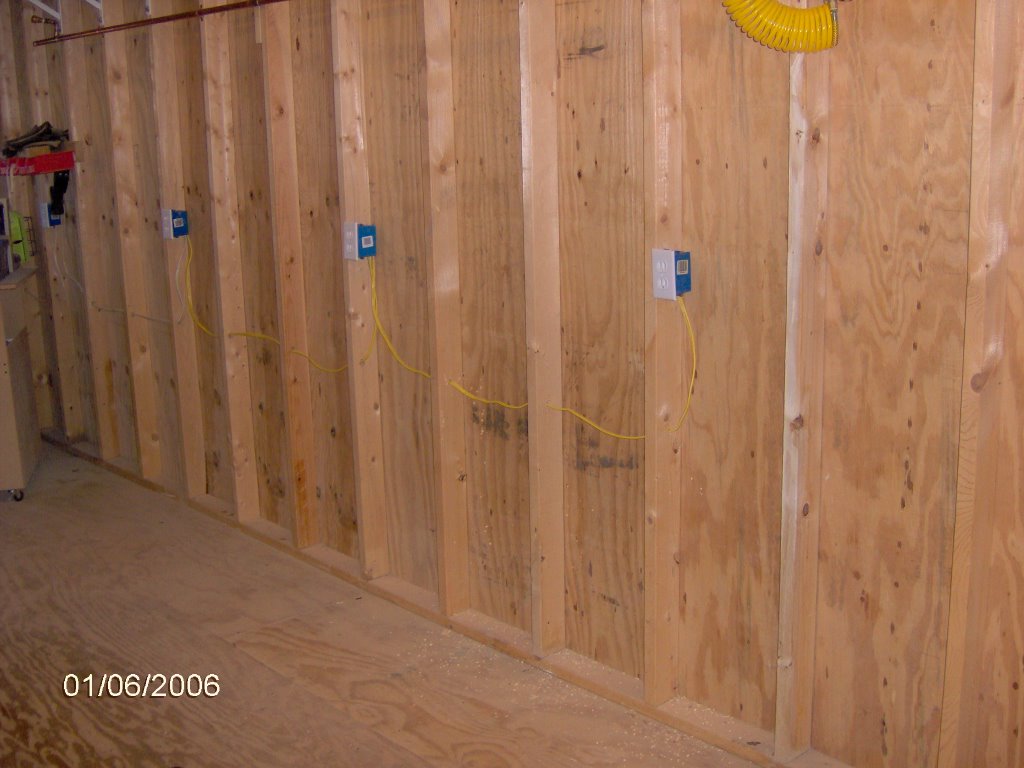
First, notice that this wall is deficient in outlets. A workshop needs more places to plug in. Power cords are not very long.

I shut off the breaker, disconnected the lone receptacle, and removed the blue box from the stud. That box was relocated to the rightmost position. Then I added 2 more boxes. Three studs apart equals 4 foot spacing.

The existing wire was 12 gauge. Black, white and bare ground. The outer sheath was white. Nowadays Romex wire is color coded and 12 gauge is yellow. I had enough left over from a previous job to do what I wanted. This picture shows the correct way to wire a receptacle that is in the middle of a circuit. Some people take shortcuts and "backwire" the two blacks and two whites. Even though that works, if a connection of the receptacle breaks (seldom) all the receptacles down the line after that stop working (series wiring). My way I use a short stub for black and another for white, connect each set of 3 with a wire nut, and attach the stubs to the receptacle. That way if a connection of the receptacle breaks, only that receptacle is affected (parallel wiring).

Finally, all the receptacles were put installed along with their cover plates. I turned on the breaker and tested each plug in spot. Every one worked just as it is supposed to. Another simple project done.
So what's next?
Well, I intend to put my work bench along that wall. It will be nice to have the ability to power my brad nailer (air tool) from above, or drills and palm sanders from the wall. No extension cords or air hoses running along the floor to trip on. I believe I will move the drill press, jointer, and bandsaw to that wall too. They often need dust blown off them and it seems right to have them along that wall.
posted by Tim B. @ 11:10 AM
0 comments
![]()

0 Comments:
Post a Comment
<< Home