The Royal Treatment...several pictures
I had time today to make a king and document it with photos. So, in case anyone wants to see how I have done each chess piece...here goes:
(Click on any picture to maximize it)
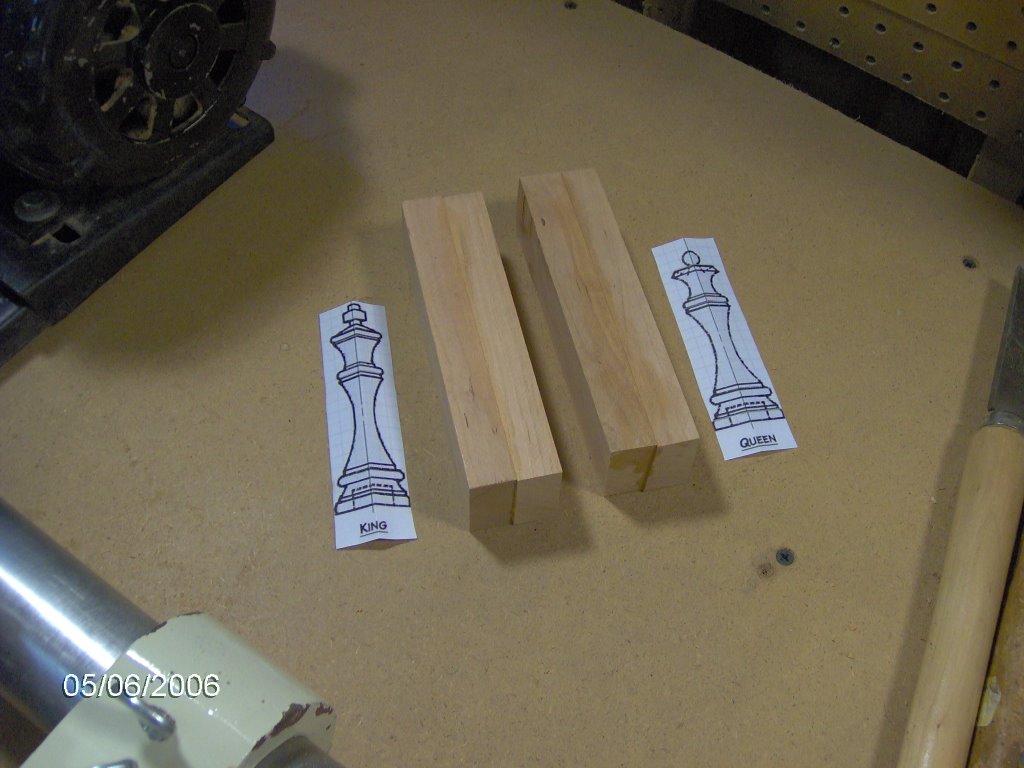
First I start out with some wood. I cut it to 1.5 inches wide and plane one face of each piece, then glue the planed faces of two pieces to make a block. The length of the block is the length of a desired piece plus 1.5 inches waste.
Here are the future cherry king and queen:
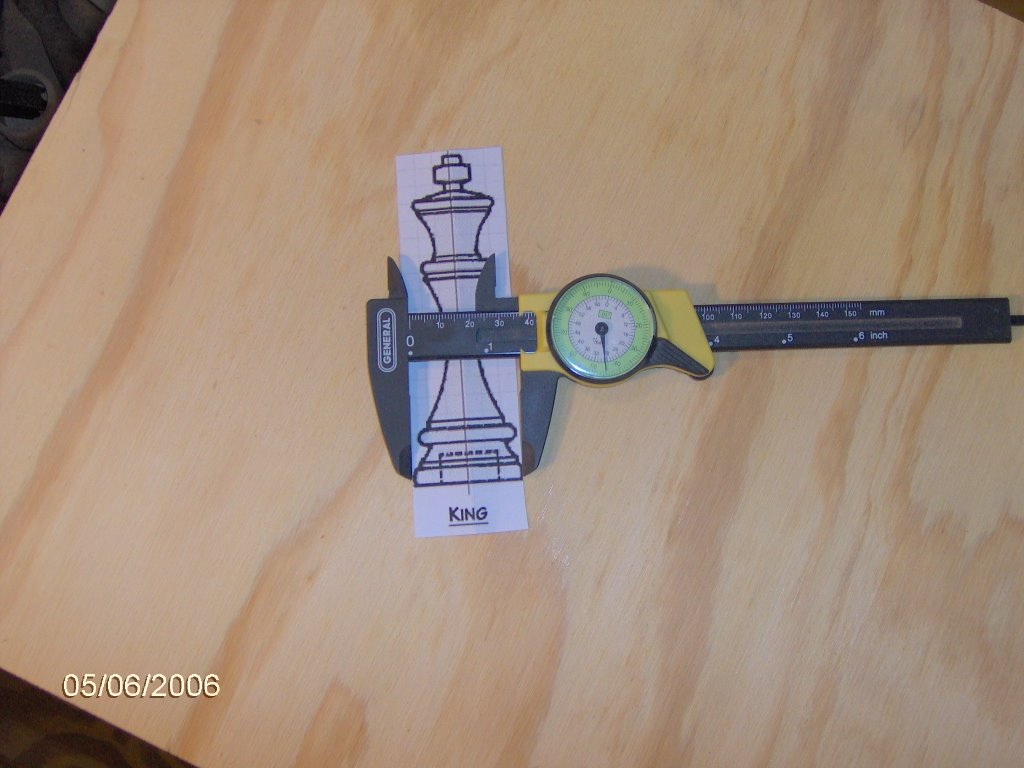
I use the pattern to set a caliper to the largest diameter of the piece to be turned.
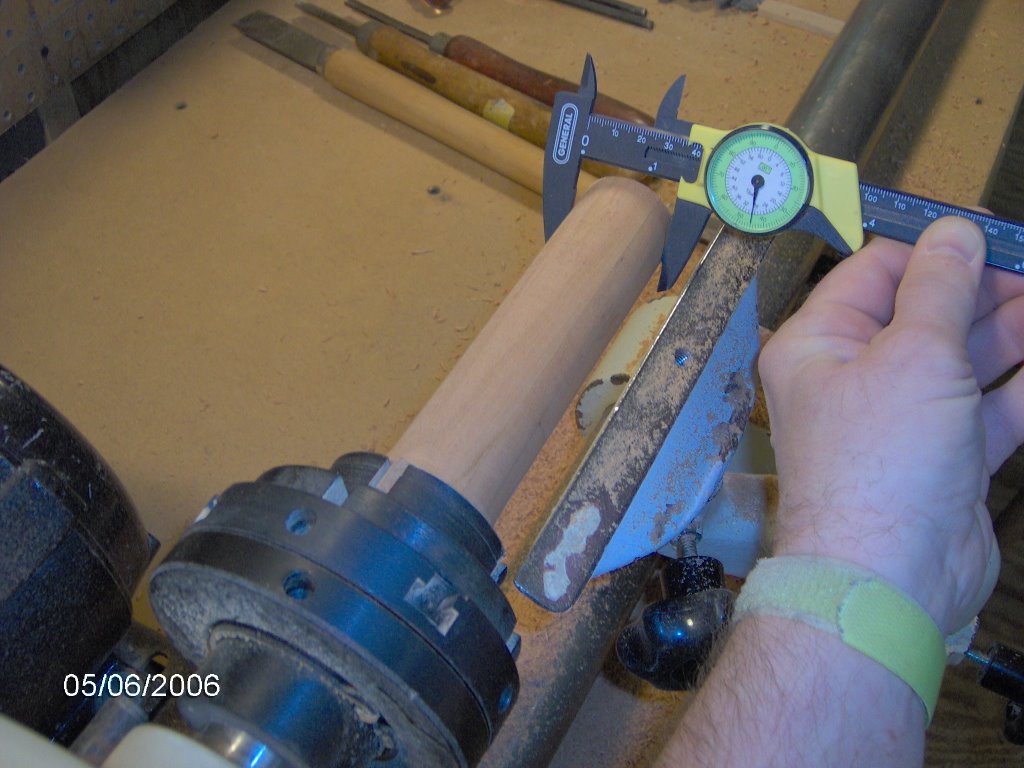
Then the block gets chucked into the lathe and turned round down to that largest diameter.
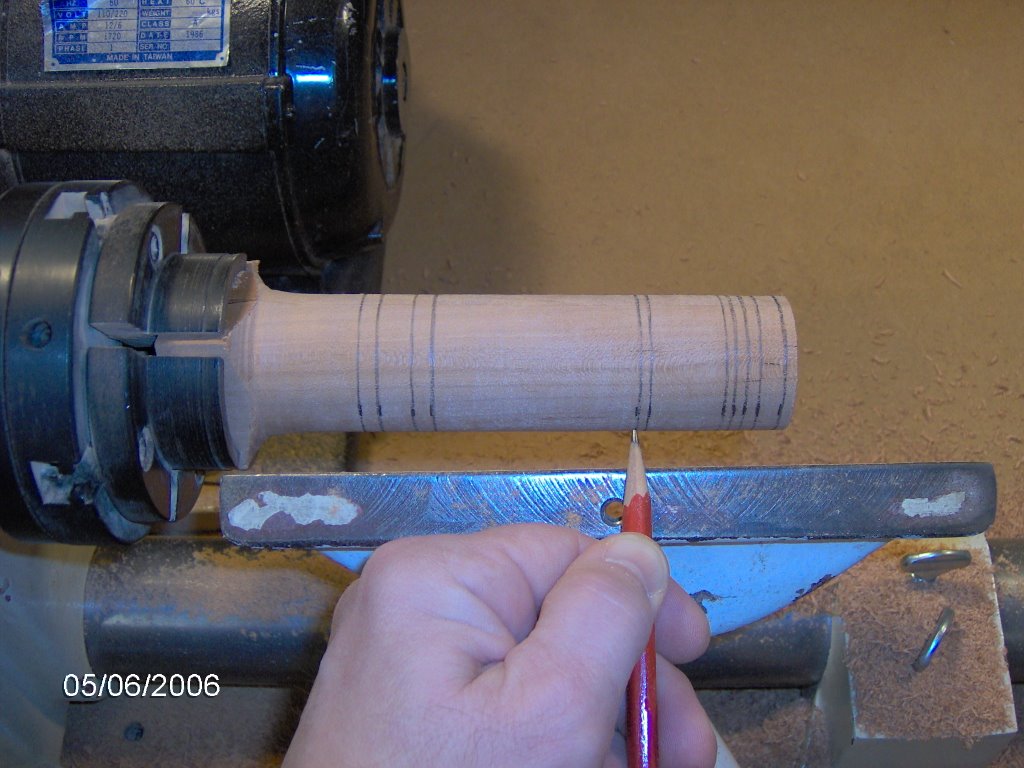
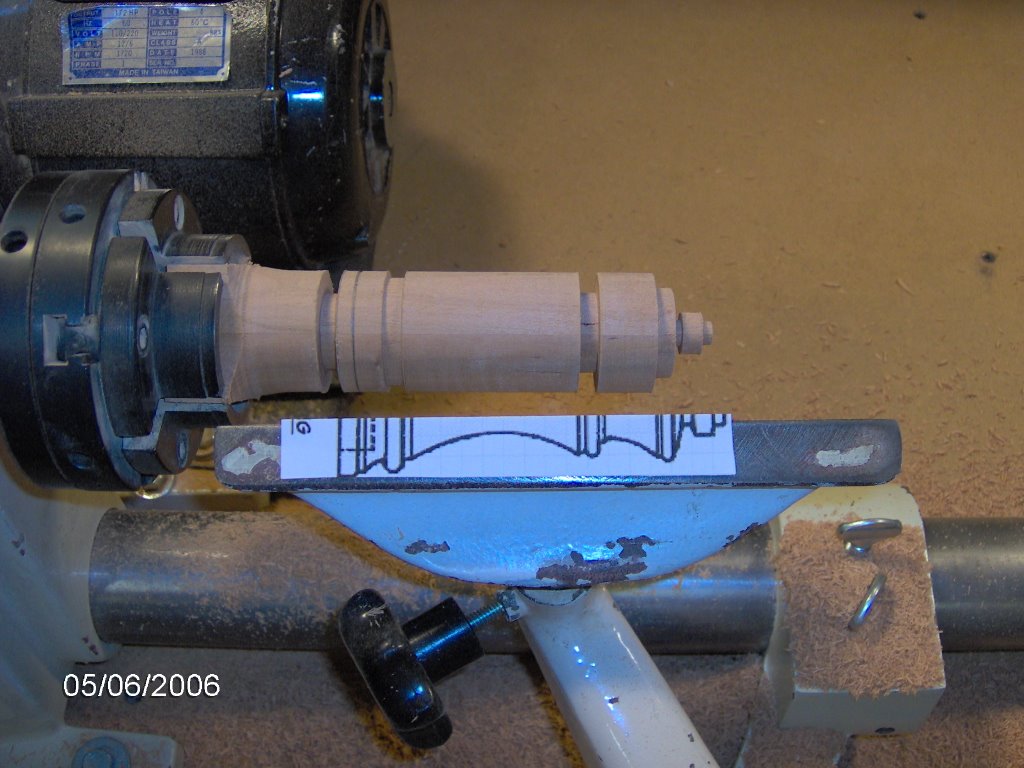
The pattern is folded in half and placed against the cylinder. I mark key points on the cylinder with a pencil.

Then each pencil mark is extended completely around the cylinder by holding the pencil on a mark and turning on the lathe.
Using a parting tool and caliper I turn down the cylinder to final diameter at each of the key points.
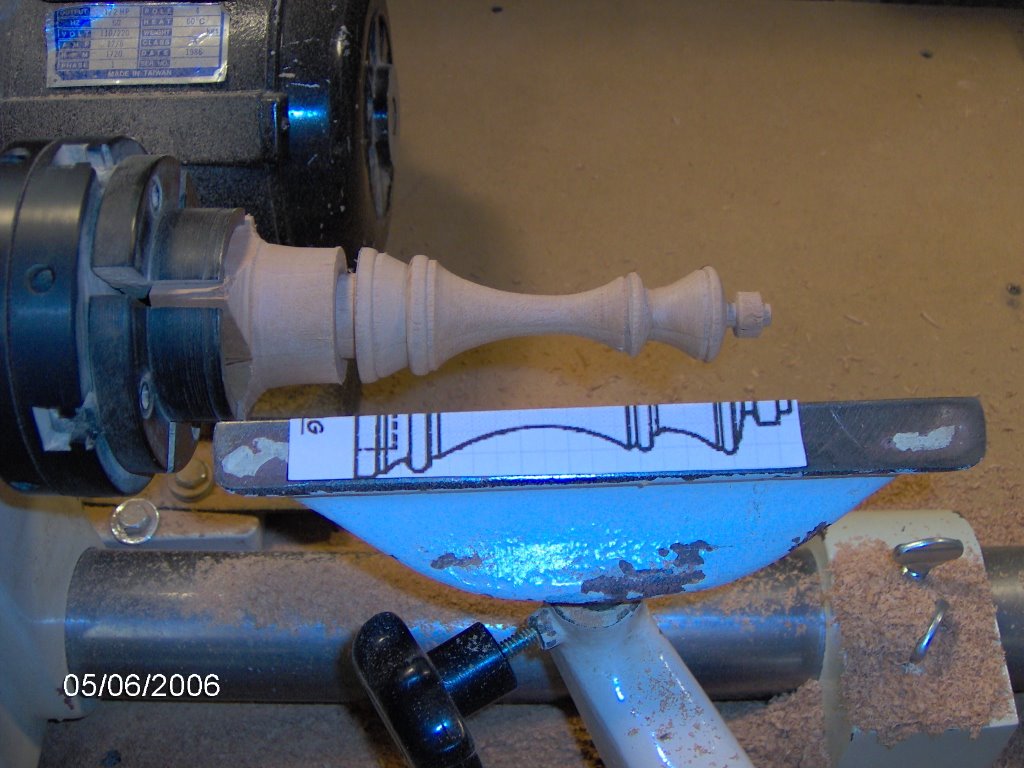
Then with other tools I make the final shape of the head of the piece.

And then the bottom and start scooping out the middle.

And this is what it looks like when all the shaping is done.
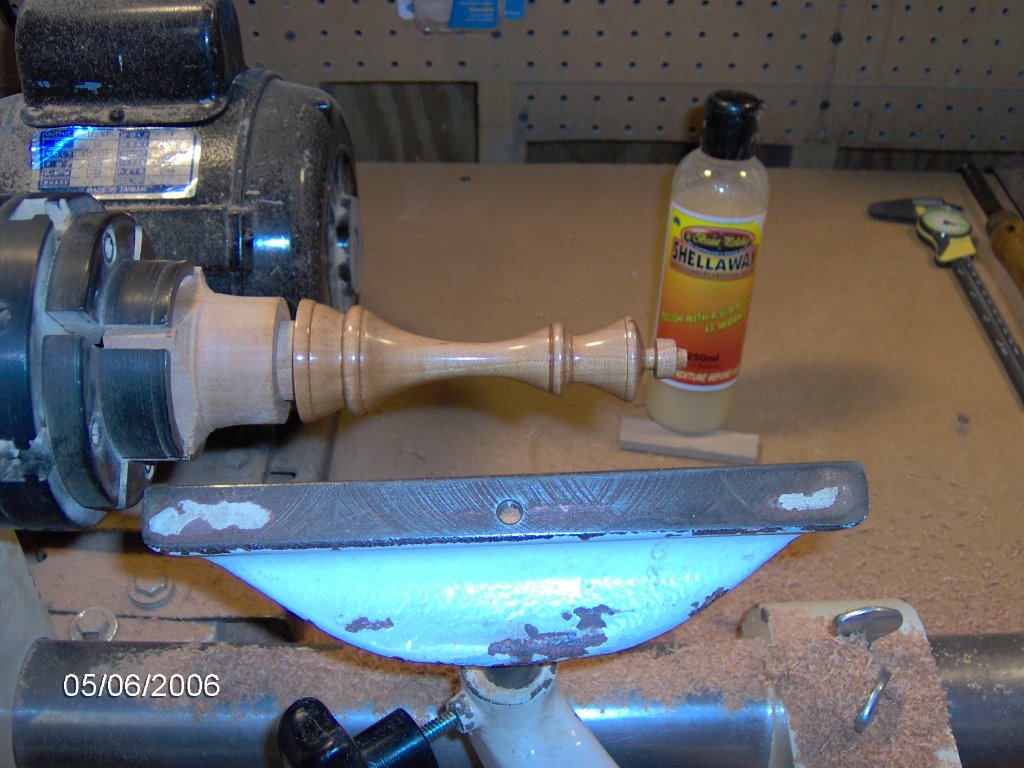
Then I sand down to 400 grit, apply 0000 steel wool and hold wood chips against the turning wood to "burnish" it. It begins to shine without any polish.

THEN I apply the polish. The polish has a slight tint and some grit in it which polishes it to something like 1200 grit. It looks wonderful after that. Takes on the final dark look and very shiny and smooth.

But to protect it I go a little farther and add a coat of Shellawax, which is a durable finish and makes it shine even more.
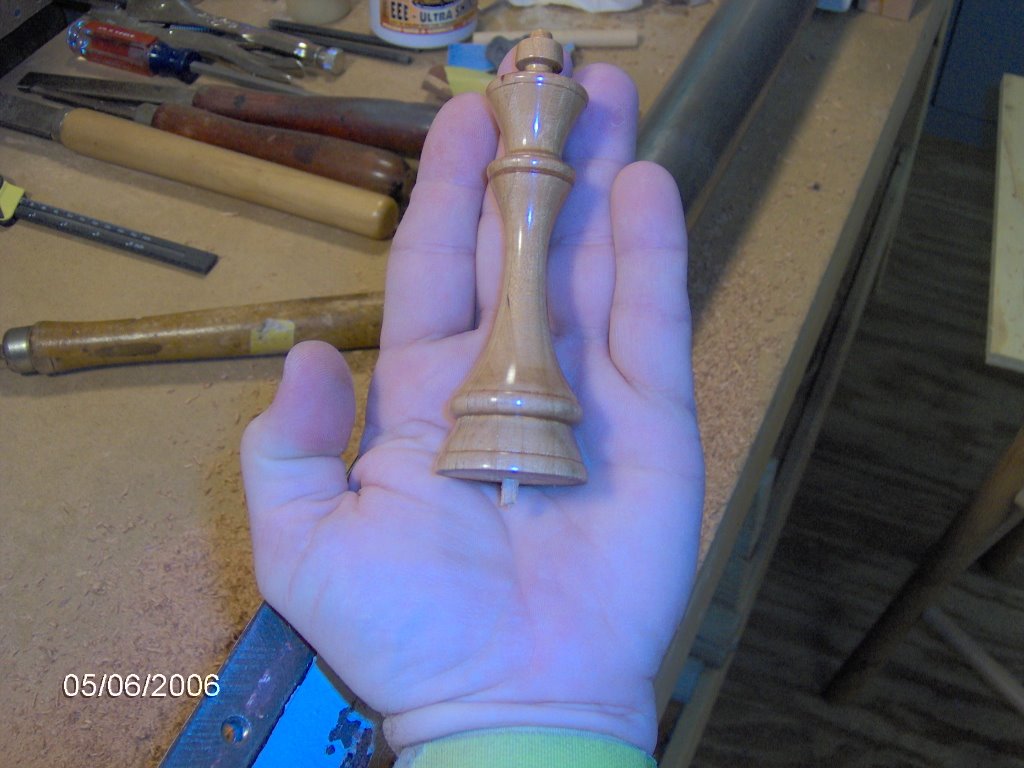
And then I use a parting tool to turn it off the waste base. This leaves a small nub which I pare away with a chisel. Then I flat sand the bottom a little and have a piece that is ready to play.
There are a few more steps to do.
1. Each piece will have a hole drilled into the bottom. 1/2 inch diameter, 3/4 inches deep.
2. 1/2 inch of the hole will be filled with shot, then a 1/4 inch plug will be glued in. That gives the piece more weight at the base.
3. Each piece will get felt glued on the base.
I bought a box of 10 shotgun shells and spent about an hour opening them and removing all the shot. What I didn't know is that there is a white substance that resembles salt all among the shot in the shell. So, similar to separating an egg white from the yolk I poured shot between Dixie cups to remove the "salt" or whatever it is. It would be nice if I now have enough shot, but I don't know how much I need, which is enough to fill 32 holes that are 1/2 inch deep and 1/2 inch diameter.
posted by Tim B. @ 10:14 PM
4 comments
![]()

4 Comments:
It reads like a training manual. When does the whole book come out?
It seems like there must be something better than "shot" to weigh down the base. Or they should sell it separately just for this purpose.
You can buy shot in bags, at stores or gun stores that sell reloading supplies. Pretty cheap, and one bag of shot will do plenty of chess sets. Get a couple friends to go in on it if you really want to do it cheap. Larry
It is really amazing how shiney the pieces can get without polish. They look beutiful.
Post a Comment
<< Home