Working on the shop tables
Well, if you saw my list in a blog entry below, there are many projects to improve my workshop. One is a drill press table and the other a router table. Last night I got back to work on the drill press table.
In the beginning I got frustrated because my router (which I needed for the task at hand) needed to be used freehand, but it was mounted under the cheap metal table that I got at a yard sale. One of the 3 screws that holds it in the table wouldn't budge. I tried heating the area, pressing down with all my might with the screwdriver. Nada. So I spayed the area with some stuff called "PB Blaster" which I had from the big "logsplitter repair fiasco."
Picture 1.
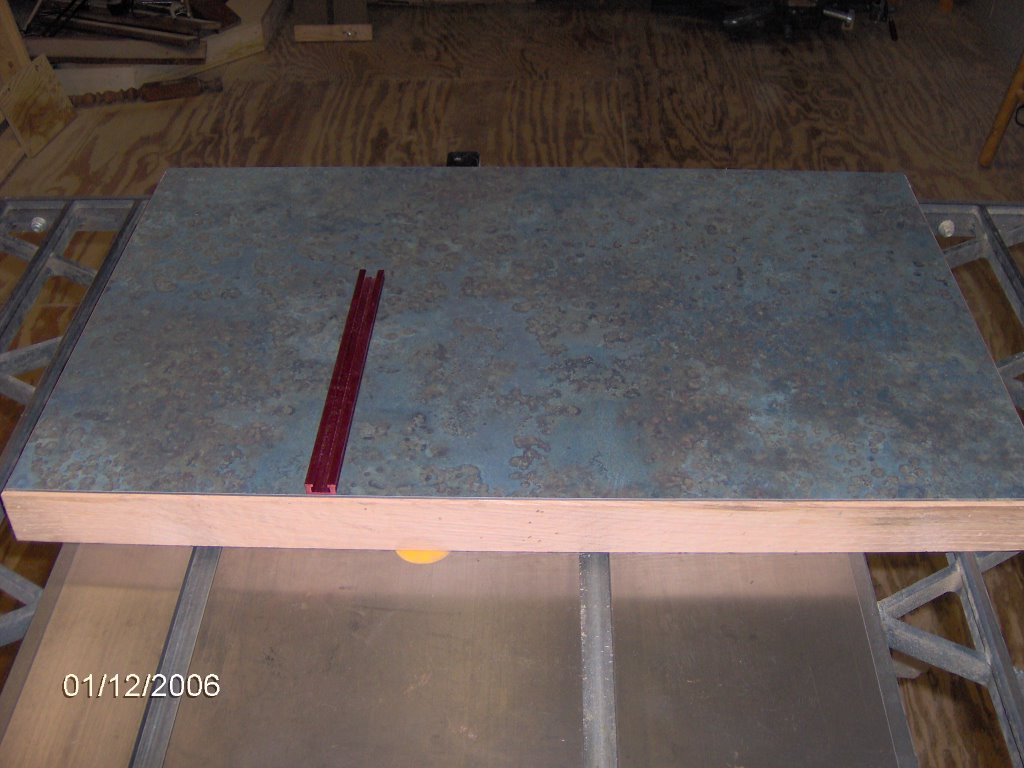
Here is the router table top. This is exactly what the drill press table top looks like except for length and width. A pretty countertop laminate edge banded with red oak. I cut down that oak for a friend several years ago.
Picture 2.
I made a jig a while back that is used with a router to make grooves of a "dialed-in" width. You can't see from the picture but one of the dark brown halves slides in and out and is locked in place with some knobs underneath.

Picture 3.
Here is one of the two grooves made in the table top.

Picture 4.
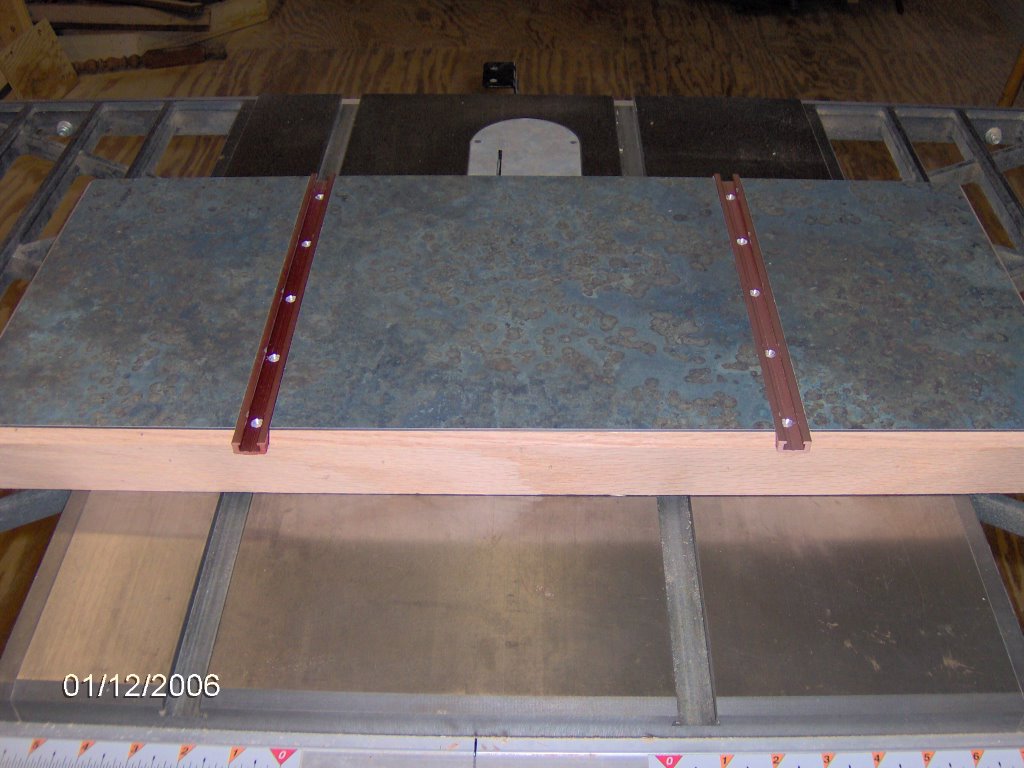
Then I drilled and countersunk holes in some aluminum T-track. I made the groove specifically for the T-track. Here is the T-track set into the table top.
Picture 5.
On the underside of the table there is a 1/4 inch recess made up by the edge banding. I attached a piece of plywood in that recess, but first traced the holes of the metal drill press table onto it. Bolts can be placed anywhere within those ovals for mounting this table to the original table.

Picture 6.
With this angle you can see how I beveled the edges of the aluminum T-track to match the bevel on the oak edge banding. That leaves an aluminum colored edge. It would be nice to get that back to red, but I don't think I will obsess over it.

Picture 7.
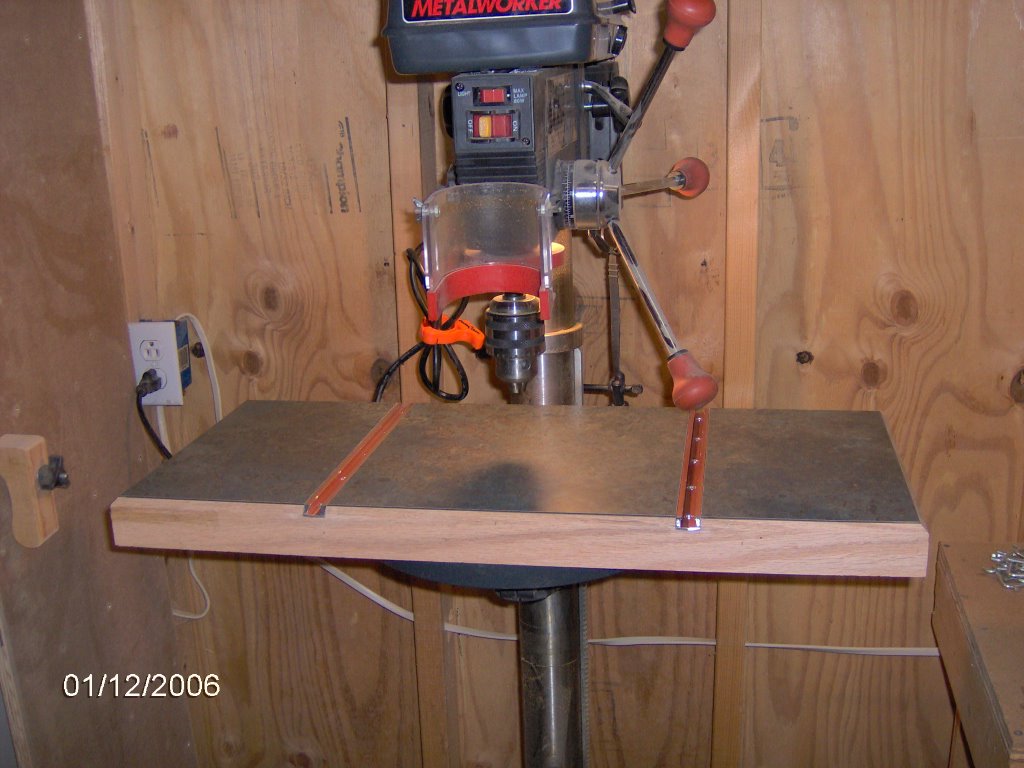
And here is how it will look on the drill press. I still need to bolt it on, make a "hole and replaceable insert" (more on that another time) and fence that can slide back and forth (and can be locked in place)in the T-tracks.
posted by Tim B. @ 9:09 AM
0 comments
![]()

0 Comments:
Post a Comment
<< Home