Saturday, January 27, 2007

An aggressive list

This is my list of house projects to accomplish this year. There are woodworking projects to do too.

House projects list: Target date

Install Shoe Molding in Dining room 2/28/2007
Install Shoe Molding in Hallway 2/28/2007
Install Shoe Molding in Living room 2/28/2007

(NOTE: I'm working on the above now and they will be done way ahead of the target)

Make 2 end tables for bedroom 3/31/2007
Make 2 end tables for living room 3/31/2007

Clean and paint kitchen cabinets (or make new ones!!) 4/30/2007
Install Pergo floor in kitchen. 4/30/2007
Build and paint a boat bookcase for JP's room 4/30/2007
Straighten out garage 4/30/2007
Straighten out workshop 4/30/2007
Strip, refinish, and assemble Deidre's butterfly table 4/30/2007
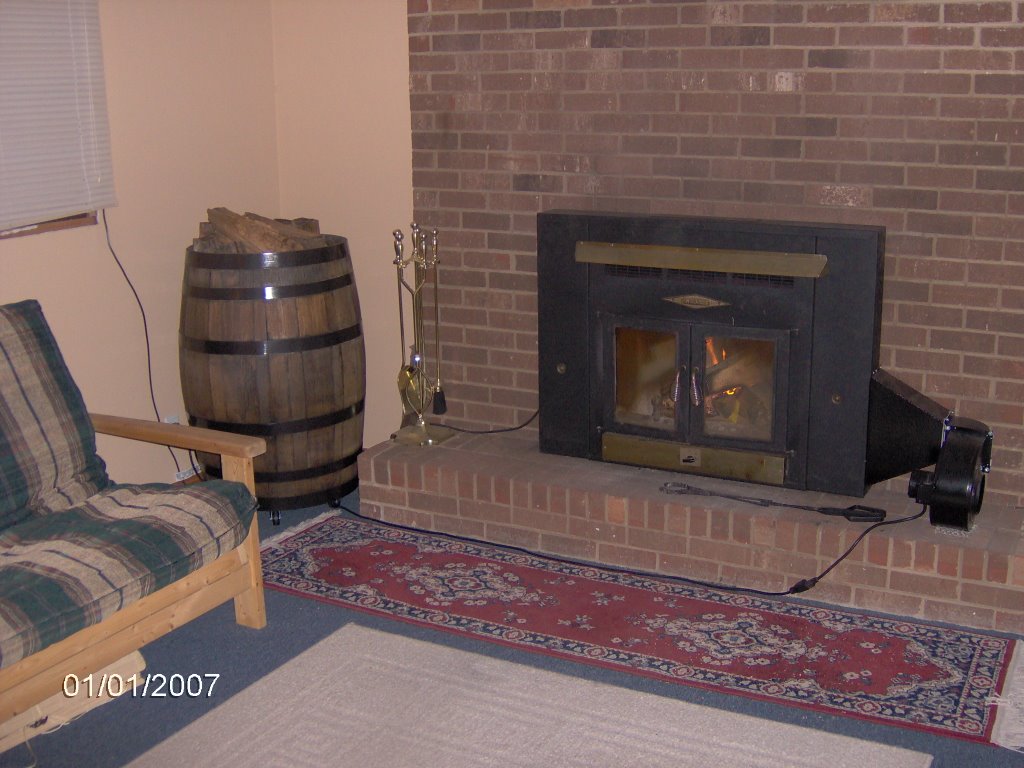
Tile the platform for wood stove. 4/30/2007
Clean and paint downstairs windows. 4/30/2007
"Trim out" basement windows. 4/30/2007
Finish crown molding in basement room number 1. 4/30/2007

Fill holes in backyard with dirt. 6/30/2007
Replace wood borders with scalloped concrete edgers. 6/30/2007

Finish drill press table 7/31/2007
Finish router table table 7/31/2007

Fix "snapping" under tub in hall bathroom. 7/31/2007
Re-edge kitchen countertops with solid wood. 7/31/2007
Put wooden "cap" on living room wall and small "stepped wall". 7/31/2007
Make "cork trivet" table top for kitchen café table. 7/31/2007

Install metal caps on vinyl siding corner posts. 8/31/2007
Repack bearings in large trailer. Look for anything "rubbing." 8/31/2007

Adjust basement closet door frame to stop door rubbing. Aug-07

Install replacement windows in bedrooms (4 windows). Nov-07
Tile basement bathroom and laundry room. Nov-07

Thursday, January 18, 2007

Fluffing, part 2

Continuing on from the previous post.

Window treatments were done in the dining room (changed from silly shutters to nicer plantation blinds):


Living room (changed silvery blue vertical blind "vanes" to a color that better matched the "bagel" colored walls):


And master bedroom (Cheryl and my Mom created this valance and curtain effect but the plantation blind was already done a year ago. They also painted the frames for the two pictures):


In the Living room Cheryl painted the frames of the two paintings to better coordinate:


For my son's room Mom and Cheryl finished stripping a small chest of drawers that I started a year ago. Then I added wood strips to make it look more like a crate. Cheryl painted it to make it look weathered and I added the stenciling. It goes great with the "washed up on an island" theme of his room.


My mom bought and brought a basket for the bamboo fountain that I made last year.


And we used a basket I already had as a lampshade for the bamboo floor lamp that I made last year. The lamp is going to be made shorter by about 12 inches soon.

Fluffing, part 1

Last Tuesday my Mom and sister Cheryl came for a week-long visit. They wanted to do some "fluffing" projects around my house...painting and decorating. They brought painting tools and sewing tools. I wanted them to keep things simple but they had other plans. Improvements were made to both bathrooms, and window treatments in the master bedroom, dining room, and living room. We also completed a chest of drawers that I had on the back burner for my son's room.

First the master bathroom. It WAS lavender with a flowery shower curtain. The 3 of us worked on this together. Mom and Cheryl spent a TON of time scraping off silicone caulk and in general preparation for painting. They masked and painted the room in two tones which are exact matches for my master bedroom (which I did last year). I added new chair rail molding, baseboards, shoe molding, and backsplash. This was the first project started and it took about 6 days.


Next was the hallway bathroom. It WAS yellow and a while back my mom added some pictures and a small rug. Again, we all worked on this but did not add chair rail and the baseboards were very easy. Armed with a master bathroom fiasco, more prep work was done before painting. That saved time in the end. Mom and Cheryl removed the pictures and painted the frames red to match the rug and towels, and it looks great against the gray walls (the color is called "Online").


More to follow.

Monday, January 01, 2007

Barrel refurbish complete

I completed the barrel refurbishing project by applying the stain to the remainder of the staves and then removing the top. To remove the top I drilled a series of strategically placed holes and connected them with a jigsaw. Then pounded out the pieces with a hammer. The wood was found to be thicker than I anticipated...more on that shortly.

It reeked of whiskey but I filled it with firewood anyway. That cut down the smell to a tolerable level so I put it to immediate use. This evening I lit a fire and started working off the contents of the barrel.


As it empties the smell gets stronger, and that will hopefully dissipate on its own.

When the barrel is empty I am going to eliminate the rolling base and fasten the casters directly to the bottom of the barrel. The thickness of the removed end convinced me that the casters will work well when directly fastened and it should eliminate the wobbly nature that it currently has.

All in all, a simple project that was accomplished in a leisurely manner. And I'm pleased with the results. As time goes on I may wipe on more of the stain and finish, but that is no trouble at all.

What do you think of the picture above?